

After a five year hiatus from turning, I have begun to turn again. I will not go into why I have not been able to turn but I will say it is really good to get back into it and it has really helped to relax me and take some pressure off. Before I started to turn again, I read some turning blogs and I saw this one about a unique inlay for a project so I thought I would try that. I am about done with this project but I will begin posting on the beginning stages (click on each picture for a larger image).
First, I found some contrasting material.

As each side dried, I glued the next piece on. See the series.


Finally, I turned the project to make a rod that looked like this when finished.

For the above steps, here is what I learned for future reference.
1. Make sure the core material is perfectly square. Each of the projects I attempted had a core of acrylic because that is what I had. However, I found that they were not perfectly square and that, of course, makes the finished product off, as well.
2. The inner core should be pretty small if you want the overall inlay to be small. The three I made were pretty big and could only be used on big projects.
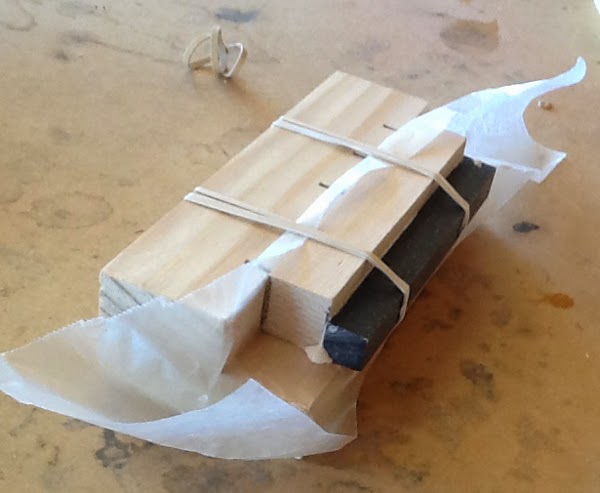
3. When gluing, the above article's jig would work well but I did not have that. After I glued the first two pieced I just used clamps. They worked well. Just make sure they are glued tight. No spaces.
4. When mounting to the lathe, I found it hard to find the exact center so that it would turn correctly. I am not sure how to improve this or to make this easier. You can see on the picture above, I was attempting to mark the center but I know that on one of the projects, one end was off so it turned a bit off.
5. Make sure you know what size of hole you will be placing the rod in before you turn! I turned my projects and then realized I needed to find something to make a whole the size of the rod. Thankfully, I had a set of forstner bits and a micrometer and was able to adjust my turning to make it the right size.
Look for my next post as I insert the inlay into a project.

Post a Comment